Taking screenshots, or snipping, is a vital feature for users of all levels. Whether you’re a student, professional, gamer, or casual user, being able to capture your screen effectively can enhance your productivity and communication. Windows offers several tools and methods to help you snip with ease. This guide will cover everything you need to know about snipping on Windows, ensuring you can capture and share screenshots like a pro.
Using the Snipping Tool

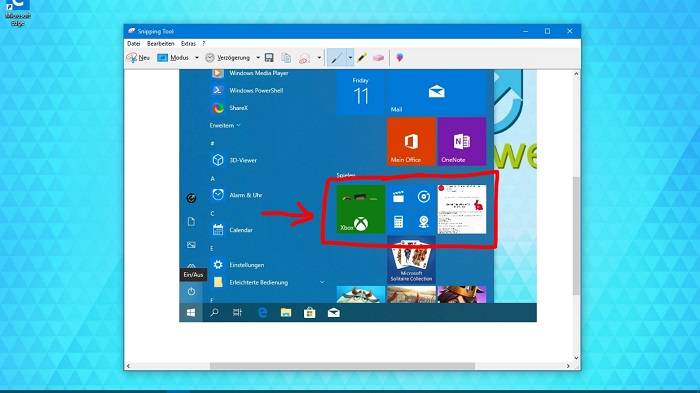
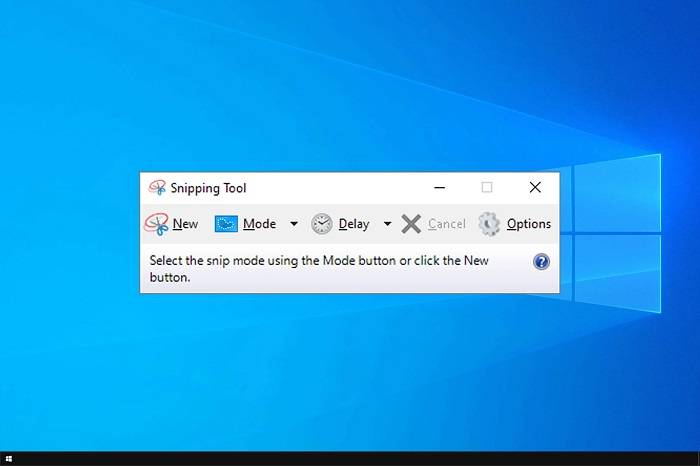
The Snipping Tool is a classic Windows application for capturing screenshots. It’s been a reliable tool for years and remains a popular choice for many users.
Opening the Snipping Tool
To open the Snipping Tool:
- Click on the Start menu.
- Type “Snipping Tool” into the search bar.
- Select the Snipping Tool from the results.
Alternatively, you can find it under Windows Accessories in the Start menu.
Types of Snips
The Snipping Tool offers four types of snips:
- Free-form Snip: Draw a free-form shape around the area you want to capture.
- Rectangular Snip: Drag the cursor to form a rectangle around the desired area.
- Window Snip: Capture a specific window by clicking on it.
- Full-screen Snip: Capture the entire screen.
Saving and Sharing Snips
Once you’ve taken a snip:
- Click the Save Snip button.
- Choose a location to save your screenshot.
- Select a file format (PNG, JPEG, GIF).
- Click Save.
To share a snip, you can:
- Copy and paste it into an email or document.
- Use the Send Snip button to email it directly.
Using Snip & Sketch
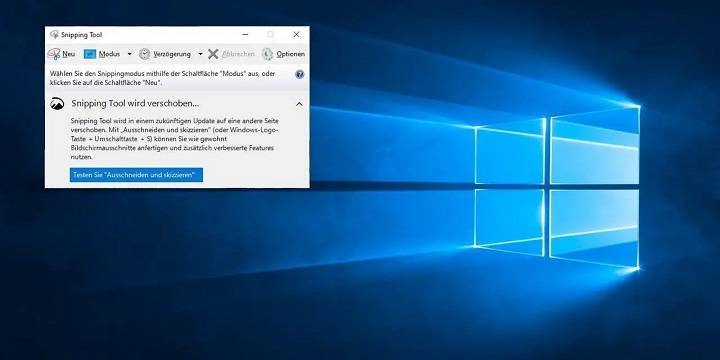
Snip & Sketch is the successor to the Snipping Tool, offering enhanced features and a more modern interface.
Launching Snip & Sketch
To launch Snip & Sketch:
- Press Windows Key + Shift + S.
- Type “Snip & Sketch” into the search bar and select it from the results.
Snip & Sketch Features
Snip & Sketch provides several useful features:
- New Snip: Start a new snip immediately.
- Delay: Set a delay of 3, 5, or 10 seconds before taking a snip.
- Modes: Choose from rectangular, free-form, window, or full-screen snips.
Editing Snips
Snip & Sketch allows you to edit your screenshots directly:
- After taking a snip, click on the notification that appears.
- Use the tools in the toolbar to annotate, highlight, or crop your snip.
- Save your edited snip by clicking the Save icon.
Using the Print Screen Key
The Print Screen key (PrtScn) is a quick and easy way to capture screenshots.
Capturing the Entire Screen
To capture the entire screen:
- Press the PrtScn key.
- The screenshot is copied to your clipboard.
- Paste it into an image editor or document by pressing Ctrl + V.
Capturing a Single Window
To capture a single window:
- Click on the window you want to capture.
- Press Alt + PrtScn.
- Paste the screenshot into an image editor or document.
Using Clipboard History
With Windows 10 and later, you can use Clipboard History to manage multiple screenshots:
- Press Windows Key + V to open Clipboard History.
- Select the screenshot you want to use.
- Paste it into your desired application.
Third-Party Snipping Tools

While Windows provides excellent built-in tools, third-party applications can offer additional features and flexibility.
Lightshot
Lightshot is a lightweight, easy-to-use screenshot tool.
- Download and Install: Download Lightshot from the official website and install it.
- Usage: Press the PrtScn key, then select the area you want to capture.
- Editing and Sharing: Edit your screenshot with Lightshot’s tools, then save or share it directly.
Greenshot
Greenshot is a powerful screenshot tool with extensive features.
- Download and Install: Download Greenshot from the official website and install it.
- Usage: Press PrtScn to capture the screen, or configure hotkeys for different snip types.
- Editing and Sharing: Use Greenshot’s built-in editor to annotate and share your screenshots.
ShareX
ShareX is an advanced, open-source screenshot tool with numerous features.
- Download and Install: Download ShareX from the official website and install it.
- Usage: Use hotkeys to capture screenshots, or select from various capture modes.
- Editing and Sharing: ShareX offers powerful editing tools and numerous sharing options.
Advanced Tips and Tricks
Enhance your snipping experience with these advanced tips and tricks.
Keyboard Shortcuts
- Windows Key + Shift + S: Open Snip & Sketch.
- Alt + PrtScn: Capture a single window.
- Windows Key + PrtScn: Save a screenshot to the Screenshots folder.
Customizing Snip Settings
Customize your snipping experience by adjusting settings:
- Open Snip & Sketch.
- Click on the three dots (ellipsis) in the top-right corner.
- Select Settings.
- Adjust settings for notifications, clipboard, and more.
Automating Snips
Automate your snipping process using tools like AutoHotkey:
- Download and install AutoHotkey.
- Create a script with hotkeys for taking screenshots.
- Run the script to automate snipping tasks.
Troubleshooting Common Issues
Snipping Tool Not Working
If the Snipping Tool isn’t working:
- Check for Updates: Ensure your Windows is up to date.
- Restart the App: Close and reopen the Snipping Tool.
- Restart Your PC: Sometimes a reboot can fix the issue.
Print Screen Key Issues
If the Print Screen key isn’t working:
- Check Keyboard Settings: Ensure the Print Screen key is enabled in your keyboard settings.
- Use On-Screen Keyboard: Try using the on-screen keyboard to capture screenshots.
Saving Snips
If you’re having trouble saving snips:
- Check Permissions: Ensure you have write permissions for the destination folder.
- Use a Different Location: Try saving to a different folder or drive.
Snipping on Windows is a straightforward yet powerful way to capture and share screenshots. Whether you use the built-in Snipping Tool, Snip & Sketch, or third-party applications, you have numerous options at your disposal. By mastering the methods and tips outlined in this guide, you’ll be well-equipped to handle any screenshotting task efficiently and effectively. Happy snipping!


